On a recent WooCommerce development project, the awesome designer I worked with created some checkout designs that felt more like a traditional user registration process. Since the client was selling tours, not products, this felt more natural to the customer. My challenge was to implement the designs without creating a big mess of WooCommerce templates that would need constant updating as WooCommerce changed it’s underlying code. Here’s how I approached the problem.
Four Parts
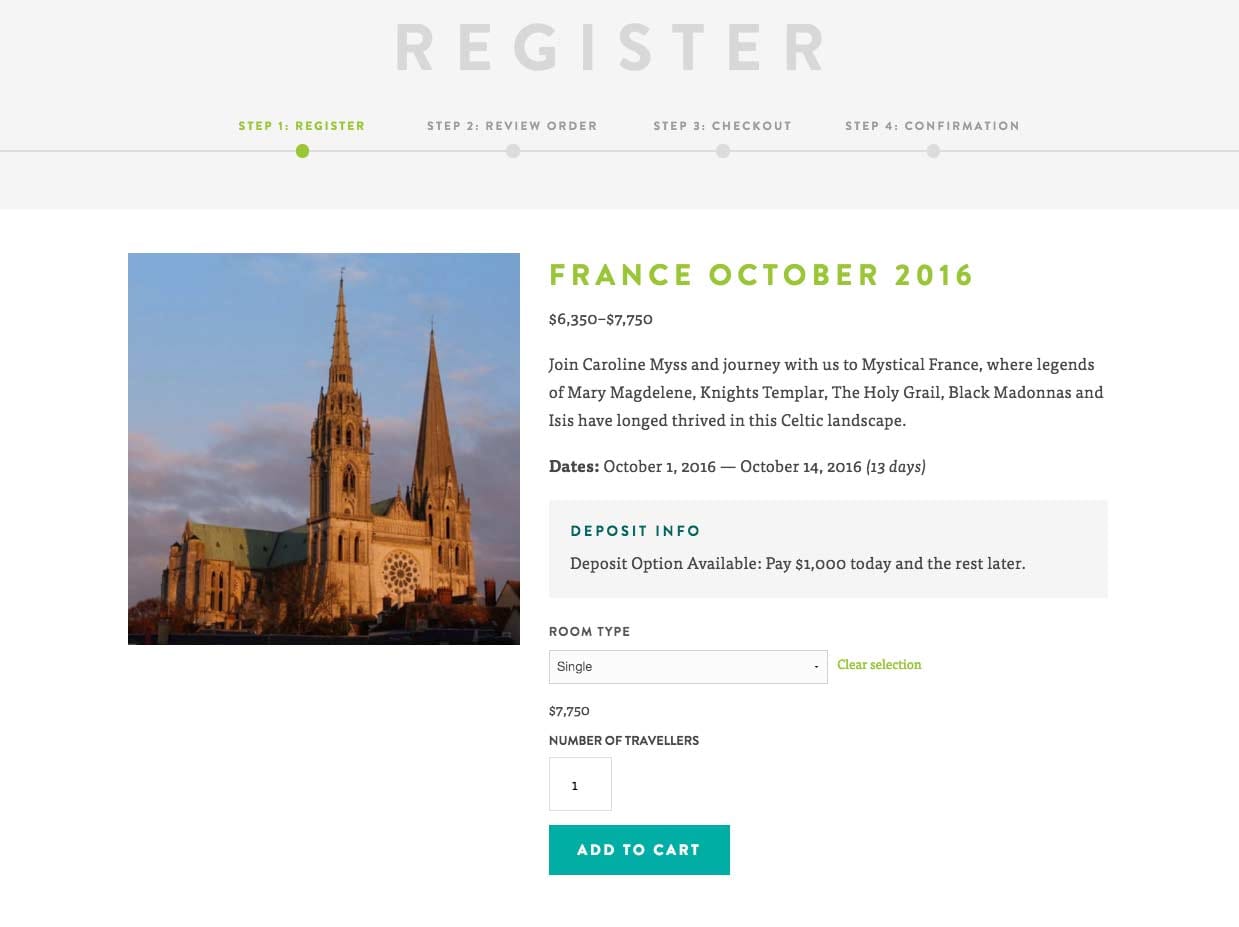
There are four unique parts of the registration design, unified by breadcrumb navigation that walks the user through each step. Here they are along with their WooCommerce equivalents):
- Register (Product Page)
- Review Order (Cart Page)
- Checkout (Checkout Page)
- Confirmation (Order Received Endpoint)
Visually, here are the custom titles and the breadcrumbs for each step which we will be modifying in this post:
Strategy: Only Use woocommerce.php and Filters
Instead of using a separate template override for each of these screens (using theme-folder/woocommerce/singe-product.php, etc), I used a combination of available filters, woocommerce.php and conditional logic to keep the custom theme free and clear of extraneous templates that would need ongoing maintenance. To do this, just create a woocommerce.php file in your main theme folder, add the same markup that your default page template uses, and replace your main loop with . We’ll add some other code to this file below and then use WooCommerce-provided filters to achieve our desired effect.
Breadcrumbs and Titles
To handle the breadcrumbs and titles at the top of these registration pages, I created a file in the theme folder called woocommerce-breadcrumbs.php which is then called inside of woocommerce.php. The WP function get_template_part() is perfect for this. All of the breadcrumbs and page titles for the registration process were displayed here using some basic conditional logic that first checked to make sure we were indeed on a single product, cart, checkout, or confirmation page. I then added in the titles and breadcrumb markup accordingly. Here’s how woocommerce-breadcrumbs.php turned out for me:
Additional Modifications
For all the other modifications to these pages, I’d recommend creating a woocommerce-functions.php file in your theme (or make a functionality plugin) to include the various filters you’ll use. If you create the file directly in your theme, just include it in your functions.php like this:
require get_template_directory() . 'woocommerce-functions.php';Register Page
Since this is just the single product page, is_product() will work for us, but better yet filters like the ones below mean we don’t have to edit our template files at all.
Single Product Filters
woocommerce_before_single_productwoocommerce_after_single_productwoocommerce_after_single_product_summary
Cart Page
The conditional is_cart() can be used to add text to the cart page, but again filters like these will be cleaner to use:
Cart Page Filters
woocommerce_before_cartwoocommerce_before_cart_totalswoocommerce_cart_actions
Just pop open /wp-content/plugins/woocommerce/templates/cart/cart.php and have a look around to find the filters you need.
Checkout Page
In our example, this is just the standard checkout page with a couple of metaboxes removed, nothing special.
Confirmation Page
Since WooCommerce 2.1+, this is now a WooCommerce endpoint, not a page. So what we’re really modifying is the order-received endpoint. The cleanest way to modify the confirmation text is woocommerce_thankyou_order_received_text:
If you want to add text directly to your woocommerce.php template, you can also use the order-received conditional statement:
if (is_wc_endpoint_url('order-received'))Wrap Up
Using filters and a little bit of conditional logic (like in that breadcrumbs file) can create a very customized WooCommerce experience without the hassle of constantly updating templates in your theme folder. Even still, it’s always a good idea – a necessity really – to test WooCommerce and WooCommerce extension updates on a staging site before pushing to your live site. Don’t play with fire!